Showing posts with label Wreaths. Show all posts

Saturday, January 14, 2017

Me-made December Recap

December was quite the successful making month! Three sewing projects and a crafting project all got done before Christmas, despite working in retail near Christmas.

The first sewing project was making a skirt for someone I have never met and was provided measurements for by someone else. Not scary at all. Canadian vintage blogger Jessica from Chronically Vintage has been on my reading radar for years, and I have always marvelled at her continuous enthusiasm for researching, writing, wearing all things vintage. She is also the host and organizer of the annual Vintage Secret Santa (VSS) that is now global! This past October, she and her husband lost their home, most of their possessions and a pet to a terrible fire. Understandably, she's taking a break from blogging and has put the VSS on hold. Or so she thought.

Her husband Tony contacted everyone on the VSS list and asked if they would be willing to be Jessica's Secret Santa to help her regain a portion of her immense loss. "Vintage is who she is" he said in the email, and after all the inspiration and reading material she has provided me over the years, I wondered what I could contribute to this wonderful idea. Ages ago, Jessica wrote a post about finally getting her "Unicorn of Vintage," a Canadian themed novelty skirt which a friend of hers made for her. About a week after I received the email, I saw this fabric come up on the cutting at work and immediately knew that this was the right stuff for what I needed. "Greetings from Canada" is an amazing all over print of postcards from cities across the country, including a city not too far from where Jessica's at!

Jessica's Skirt!

This project has taught me a few things, chiefly patience. For many of my own projects I have a few "that's good enough" moments and I'm fine with them. Knowing that this skirt was going to someone else, I really slowed down and took my time to ensure that this one was made properly. There was still the traditional project-finishing activity of hiding the crimes, but generally speaking this skirt has turned out better then others I've made, it's a lot cleaner. It is also just nerve wracking making something for someone I haven't met and that can't try on the skirt before I finish it to make sure it fits! Here's hoping Tony had his measurements right!

A friend of Jessica's, Barbara Anne, was the other great helper of this project and she started a facebook group for all the participants of this scheme. Late on Christmas Eve, I was perusing the great book of face before heading off to sleep, and I almost pushed G out of bed when I rolled over and grabbed him, frantically showing him my phone and the picture that had popped up.

Photograph Taken by Barbara Anne
Photograph taken by Barbara Anne.
Apparently I made some funny noises while I showed him this, I was too busy reading the comments on the photo. Apparently Jessica was very excited to receive this skirt, and as she added later, she "loves it to the moon and back." I still look at this photo every once in a a while and smile over the fact that I made that skirt. I also still hope and pray that it fits, and that my construction holds out to make this a viable garment for her. There's enough fabric left for me to make another skirt, so I may just make one for myself in the new year.


I had to finish off the skirt pretty quickly to get it in the mail, and once I was done I did want to take a break from the sewing briefly. I also wanted to do another wreath for my front door, so getting covered in tinsel and glitter seemed like a great idea.

Wreath Time!

Yeeeeeeears ago I saw a tutorial from Meg Allen Cole on Threadbanger to make a retro-inspired tinsel tree. I adore how tinsel trees look and I started saving up Dollarama tinsel in colours I like to eventually make one. This resulted in two bags of the stuff living under my bed for years, collecting dust. I realized that I like real Christmas trees too much, and I don't want to store a tinsel tree somewhere in the intervening months between Christmases. Recently I discovered a tutorial to make a mid-century modern inspired tinsel wreath on Craft and Tell, and thought this was the perfect thing to do with the tinsel hiding under my bed!

Because bottle brush trees.

After making the mistake of going to Michael's during a Christmas decor sale, I got a decent sized styrofoam wreath form, some bottle brush pine trees and a pile of fake deer antlers. I had very grand ambitions of using the antlers, but it just didn't work, the minimalism of a few trees kept calling me. Half an hour and some hot glue later, I had a beautiful new wreath for my door.

Midcentury Prettiness!


My second sewing project was to bang out some Christmas presents for G's brother and sister-in-law that was more than a bottle of wine. They're easy to buy for, but kind of boring in that regard. I also have been wanting my own stocking for ages, and when I saw this red winter-themed fabric at the store, it pretty much had to come home with me.

Winter Realness

I'm glad I did mine first, since I definitely messed up the construction the first time. I also forgot to add the little hanger to make it a more useful stocking that can actually be displayed on something. I am undecided as to whether I am fully happy with the fabric pairing for mine as well. I still adore the red, but I'm wondering if I should have gone with a green for the lining. At the store I decided that would be too obvious, but there are a whole bunch of nice, greenery looking green fabric that I really liked too. I may redo it along the way, but for now, this one works.

HersHis

The red fabric I used on my stocking had a matching grey fabric which was the perfect thing for G's brother and sister-in-law's place, they love their grey. I also found this gorgeous red pattern to be a nice, modern pop against the sort of country-ish pattern of the grey. It was directional, which meant I had to take care when cutting it out to ensure it went the right way in the finished product. These two went together pretty quickly and smoothly, and the appliques I got really look great on them. I decided to celebrate the finished product by sending a picture to G.... and as soon as I hit send, I noticed something in the photo that made me double take.

Well fuck.

Despite my care when cutting the fabric, I wasn't paying attention at one point and cut out one of the panels upside-down. I clearly didn't notice, at all, and not only sewed it into the stocking, I decided that THAT side would be the front and put the freaking applique on it. Ironed it on and everything, so it's not coming off. G has assured me that his brother won't care, and may not even notice, but I'm not entirely happy that I did it in the first place. It will still hold a bottle of wine, so it'll work.


My last sewing project seems to now be a Christmas tradition, a Christmas skirt. A good friend of mine always has a large family-friendmas on Christmas Eve, and it is always themed in some way. This year's theme was classic Americana/Norman Rockwell Christmas, with an overtone of ugly Christmas sweater. I have been told in the past that the ugly Christmas sweater I currently own is "actually quite nice-looking," so I knew I needed something better for this year. I wasn't entirely keen about buying another sweater, but keeping in theme for this post, this Christmas tree skirt panel fabric came up on the cutting board and I decided that it was the answer to my problems.

The skirt, in all its hideous glory

I got two panels of the tree skirt, as well as some of the matching repeat pattern fabric to fill in some gaps that would make themselves apparent later. I also picked up some buttons, bows and ric rac to make the thing even worse. I even found a pack of miniature Christmas light bulbs that had to be purchased and have an electrical cord painstakingly embroidered in.

Stringing up the lights!

Probably need some more here.

Sheepies!!

As I was using two half circles to make this skirt, it would end up being super short on the sides had I not accommodated for a 40" waist that had to go in. Thankfully, the repeat pattern version of the design gave me some extra real estate to work with, and a waistband. I was able to cover up the connections between the pieces, and add further ugliness, by adding ric rac on top of them.

Wise Guy panels

The tree skirt panel had some free space on it owing to the circular nature of the tree skirt, and the designers decided to add a matching three-wise-men-themed stocking to fill up the space. Since I refuse to have garments that don't have pockets, the stockings were the perfect thing to add to the skirt for some practicality.

Stocking patch pocket

My measurements went wonky a few times while making this skirt, and for a while I thought I needed to add a panel to the back of the skirt to get it to fit. As soon as I did that and was ready to put in the zipper, I barely needed half of the panel that I put in. I also apparently couldn't sew straight when I put said zipper in.
I'm not sure what happened here...

This skirt gave me a surprising amount of grief during the construction process; There were a plethora of not-good noises coming from my machine for this one. Ronnie was constantly breaking threads and getting the bobbin thread tangled up. I have since discovered that I should have been cleaning out Ronnie's bobbin mechanism a lot more often than I have been (which as of now has been once), so hopefully going forward there will be less issues. I was happy to discover at the time that a good deal of the problems got solved by changing out the needle for a new, not bent one. I think I might have immediately ruined the new needle a bit by sewing through metallic ric rac, because I will never learn. Such is life.


I have grand ambitions of January being a good month for making stuff, seeing as the enthusiasm to make stuff inside will be higher since it's cold and awful outside. I've pulled out some fabric I got back November to try and make a gathered skirt, and I also just got some fabulous duck-themed fabric to hopefully make another pillow with. I have grand ambitions of doing a muslin for a dress, but we'll see how things go. With any luck, 2017 will be have some handmade components in it!

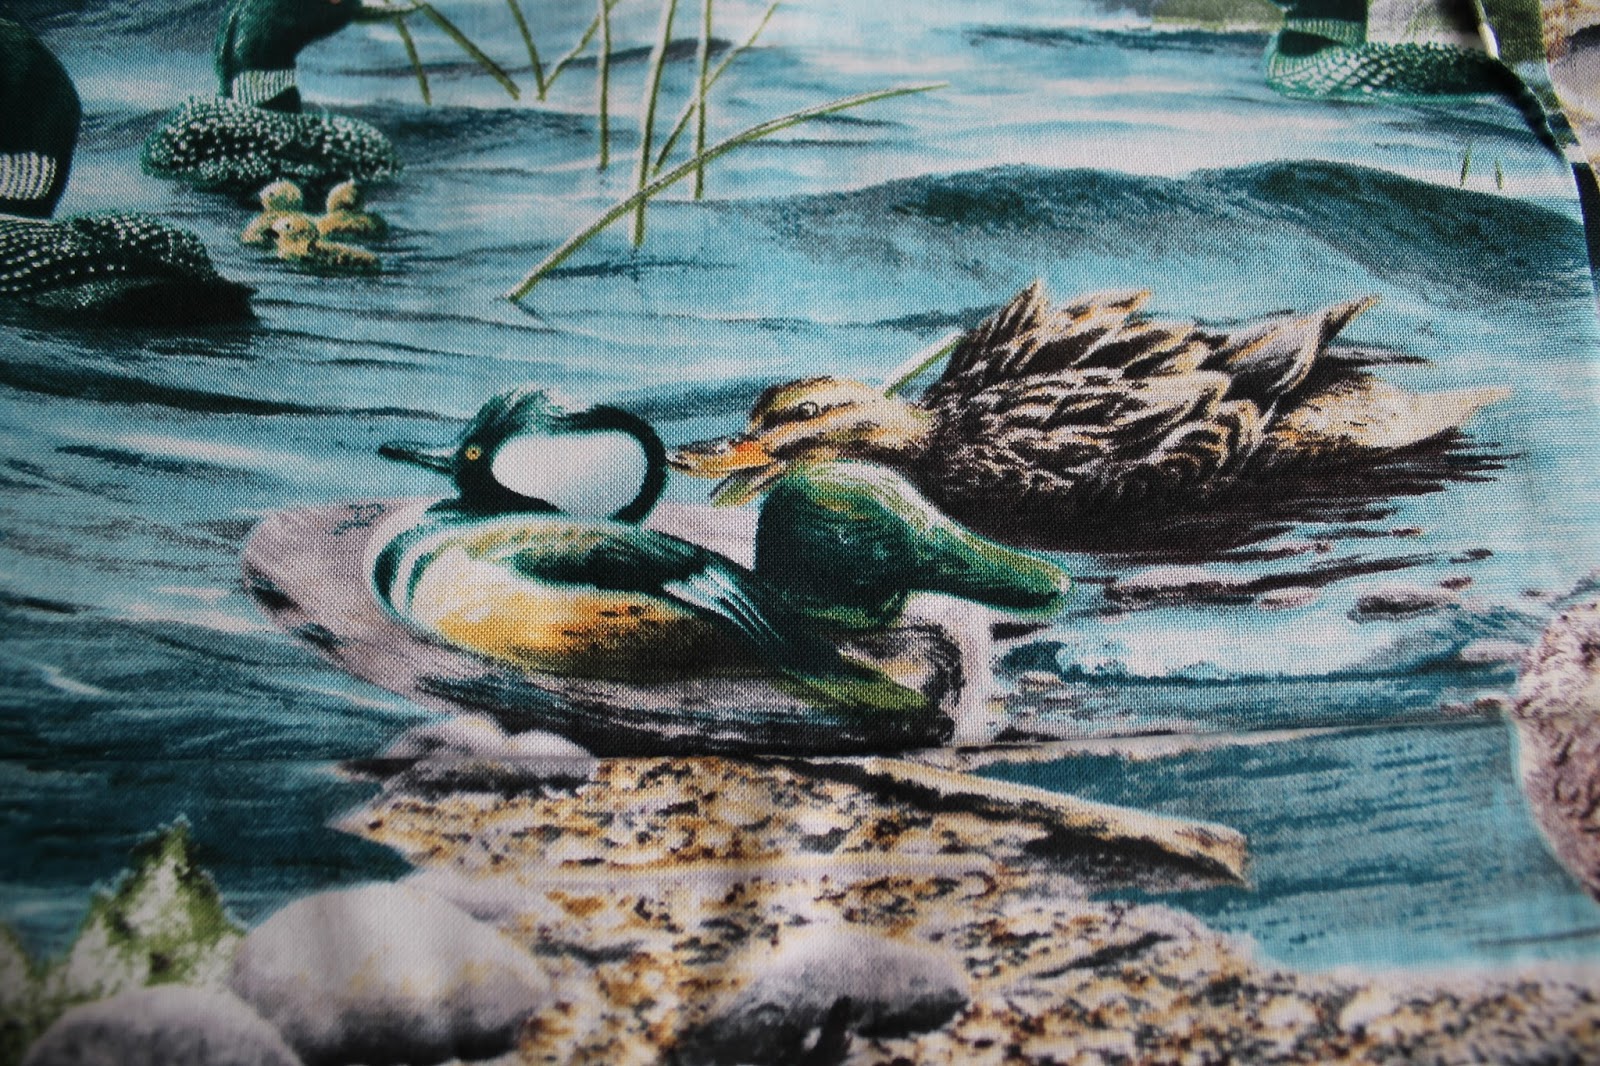
The great outdoors

QUACK!


Thursday, November 12, 2015

Super late Halloween decor post

While falling down a youtube hole around Halloween last year, I came across this video for this fantastically creepy and classy Halloween decor DIY by Karen Kavett on HGTV Handmade.


I actually went out the next day to get the wreath and as many cheap snakes as I could find.... which turned out to be not much, despite being Halloween season. The craft store only had big expensive ones, and dollarama (the great mecca for plastic, not always 100% anatomically correct animals) only had these weird, jelly snakes that smelled awful. I know buying them online is an option, but the lack of instant gratification of finding more snakes and the usual DIY project procrastination resulted in the parts I had collected being put away for an entire year and ignored.

If a new bid to try and actually do some half done/not done projects to clean up the stashes, I started looking for snakes again this year! I trip to Honest Ed's while killing time one afternoon got a few medium sized ones and the craft store had a multi pack of snakes that nicely rounded out my pile.


Snakey bits!More Snakey bits!

All you need is a vine wreath, a 'knot' of snakes and some spray paint.


Step 1) Arrange ALL THE THINGS. I went with Karen's advice and started with the bigger guys and filled out the bare spots with the medium and smaller snakes. With Netflix on in the background, weave all the snakes together and arrange until you're happy with how they're looking. I ended up with a few heads sticking out, which gives it personality.

They've got a good dentist, clearly.
Hey dude!
Getting there
Getting there.
Hawt
No actual snakes were harmed in the making of this wreath. Well maybe, I don't know if the hot glue gun ran one over on the way to the craft store. That would suck if it did, but I can't be held responsible for that.
Hot glue certainly helps, and thankfully didn't melt my jelly snakes (which don't smell nearly as bad a year later!)

Step 2) My wreath didn't have a hanger on the back, but some stiff wire from the stash and a healthy application of hot glue solved that problem.

Wirey


Step 3) After you prepare a spray painting area so as to not ruin your balcony floor and panels, spray paint the crap out of the entire wreath. Make sure you move it around and get it from all angles, and try to get a second coat to make sure you have good coverage everywhere. Let it dry for a good few hours if you can, but it will smell like paint for a while... and maybe make half of your apartment hallway smell like spray paint. Maybe.

It could be worse. Keeping the damage deposit intact here people.
My super sexy spray paint set up. It's outdoors with good ventilation, stop judging.
Ooo, pretty colours
Before....
Getting there....
During/First pass... 
Just a little more...
Almost there...
Step 4) Hang it up and creep people out!

Done-sky!
"Why did it have to be snakes?" Because snakes are awesome Dr. Jones. Suck it. Also, the lighting in my hallway sucks balls.
I am super pleased with how this turned out. Having it the one colour makes it kinda subtle, as much as a wreath of snakes can be, and it's creepy enough to be outside the spoopy range for Halloween. Also, this turned out to be the only thing I did for Halloween at home, so an afternoon well spent. I know I used a 50% off coupon on the spray paint, and I might have for the wreath last year, I don't remember, but I think I spent about $35 in total for the whole thing, which ain't bad for something I can creep out guests with for years to come :)

My "why I didn't 'do' Halloween this year" post will be coming up shortly, with a nice little Halloween Easter egg, and here's a bad snake pun to tide you all over.

Thursday, December 13, 2012

DIY Christmas wreath

So I gave a wee photo hint of the wreath I've made in the previous post. It's done now and with minimal burns from the glue gun! Win!

 Here's the process and finished product.

 First off, spend a few years collecting small ish boxes and desperately finding places to store them while waiting to do this project. I used predominantly some... medication boxes, chicken stock cube boxes and some cube boxes that held tiny lightbulbs. Also, start to swipe scraps of brown craft paper from work because you don't have the room for an entire roll of craft paper.

 Wrap all the boxes, either singularly or a few stacked together to have different sizes in said stolen craft paper. I did a test run with tape and the tape came off within days. Hot glue those suckers.

 I wasn't kidding. Do several boxes. 

 Find that unused ball of kitchen twine in the kitchen, and further wrap up the little packages.

 Using some old cardboard and a plate, make a ring shape for the backing of the wreath. Drawing in the chunk of the plate that's missing isn't entirely neccessary.

 Arrange the boxes in a pattern of your choice on the ring BEFORE GLUING THEM DOWN. Gluing each present down separately, add different layers to give some depth.

 While the glue is drying, enjoy your tea and Blackadder Goes Forth on DVD while the Gerbils occasionally scurry about. Also, add some extra hot glue to the back to ensure the presents stay on the backing. You can also add some wire to the back if you think it feels a bit flimsy, I found with all the presents glued together, it was pretty stiff.

And Bam! Hang that sucka' on the nail on the door that was left behind by the previous tenants. Y'all gotta wreath my friends.

I'm really pleased with how this turned out. I had bought some Christmas swags at Michael's since they were on sale recently, and I'm still on the fence about whether they work or not. I have a red frondy looking thing, green stalks with green berries and a random gold leafy-looking thing, not sure what you'd cal it. They're really pretty, but a little big, and/or too much for the wreath. Not sure. Dang it. We'll see.

Sunday, December 2, 2012

Christmas Decor 101: Wreaths!

This will be the first of a series (I know! Super serious attempt at real blogging) of posts about Christmas decor. One or two of these will include teaser photos for Christmas craft projects that I'm doing this year!

Enough with the explanations! On with the decor!

Wreaths! Doors, windows, over the (imaginary) fireplace, where ever!

We got rather lucky when we moved into our current apartment; someone had plonked a nail into our door and left it there. It's a teensy bit too low, but it works for hanging stuff, even if a wreath sometimes covers the peephole. Most years, I haven't actually hung a wreath for Christmas, chiefly I think because I didn't have one or got around to making one. What I would usually do was take a branch off of the tree and hang a large bow with a few cheap ball ornaments on that. This would make our door smell really nice and seasonal for about a day and a bit before the pine smell wore off, and looked really pretty and natural.

I've been inspired for years by a variety of pretty wreaths that I see throughout the interwebs.


As soon as I have that beautiful rugged lodge, this is going over the fireplace with a bow. Found on Apartment Therapy.

Ooooo, leafy! And made of paper! As found on Apartment Therapy, again.

 This paper one on Craft Stylish looks wonderfully Mod.  I'd probably substitute in more greens, call me a traditionalist.

Eeee! I originally found this on a Canadian Living round-up of wreaths, and in theory it's from Pier 1 Imports... can't really find it on their website, but it definitely looks DIY-able.
 While beautiful, I have some Archivist issues with this one. I might make scans and copies of old photos, rather than gluing real ones to each other. Just sayin'. Found in the winter issue of Sweet Paul Magazine. Search 'wreaths.'

I've always loved Aunt Peaches creations, whatever the season. Clearly other people do too, since some jerk stole one of them right off her door this past fall. Jerk.
This year she's going for something that can be non-Christmasey and seasonal, so she's going Mushrooms! Love it!

And there's always this one I made for my bedroom door last year. It could easily be done again with Christmas wrapping paper for a more traditional look! I'm relatively certain the original directions were for a Christmas theme anyway.

This year, since I have some time on my hands, I decided to make my own! Here's a teaser of the inspiration, although I've something like this in mind for years now.

Here's the actual teaser photo, and I'm so happy to be getting rid of those boxes I've been saving for years!

See you soon with the results of the craft project and part two of Christmas decor 101!

Sunday, March 13, 2011

Paper crafts, a recycled wreath!

I was bored. I needed to do something with my hands. I had a pile of magazines lying around. I was also perusing my big list of website links for crafts and projects. This, seemed a perfect solution!
Lisa over at the The Red Thread Blog gives a lovely tutorial for a paper wreath, using wrapping paper left over from her advent calender project. I started perusing through the fashion mags I had lying around, and came up with this!
Purses and earrings and shoes, oh my!
I had some pretty Gold ribbon lying around in my stash, so I used that to create the bow and loop to hang it! I am very pleased with the final product, spending an afternoon stapling away while watching TV was very satisfying. I also found a picture of Greta Garbo in one of the magazines, and she takes pride and place near the top. This is on my bedroom door now, a hint of femininity to disguise the disaster zone that lies within. My room's a bit of a disaster since class started again.